
The Ultimate Guide to Winterizing a House Checklist
What Is a Winterizing a House Checklist — and Why Does It Matter?
A winterizing a house checklist is your step-by-step plan for protecting your home from cold weather damage, high heating bills, and costly repairs before winter hits.
Here’s a quick overview of the essential tasks:
- Clean gutters and inspect your roof – remove debris and check for damaged shingles
- Seal drafts around windows and doors – use caulk, weatherstripping, and door sweeps
- Insulate exposed pipes – pipes can freeze at 30°F or below
- Service your heating system – schedule an HVAC tune-up and replace filters
- Inspect your chimney and fireplace – clear soot buildup and check the damper
- Protect outdoor pipes and faucets – disconnect hoses and cover spigots
- Store or cover outdoor furniture and equipment – protect against moisture and frost
- Check smoke and carbon monoxide detectors – replace any older than 10 years
- Stock emergency supplies – food, water, flashlights, and batteries for winter storms
Winter doesn’t wait. And if your home isn’t ready, the costs can add up fast — think frozen pipes, skyrocketing energy bills, and furnace breakdowns on the coldest night of the year.
The good news? A little preparation goes a long way. According to Energy Star, simply sealing air leaks and adding insulation can cut your annual energy bills by up to 10%.
Most homeowners can complete the basics in a single weekend. The key is knowing what to do — and doing it before temperatures drop.
Why You Need a Winterizing a House Checklist
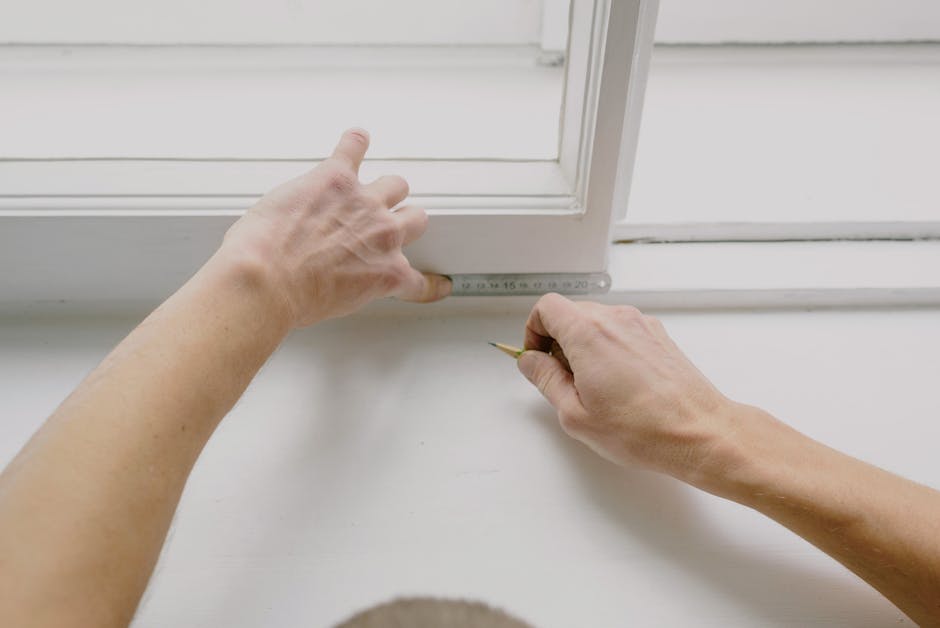
We often think of winter as a time for cozy blankets and hot cocoa, but for our homes, it’s a season of stress. Without a solid winterizing a house checklist, you’re essentially leaving your biggest investment vulnerable to the elements.
The most immediate benefit of winterization is the impact on your wallet. Beyond the 10% savings mentioned by Energy Star, your floors alone can account for up to 10% of heat loss if not properly addressed. By following a comprehensive home energy audit checklist, you can identify exactly where your hard-earned money is leaking out of your house.
Preventive maintenance is another huge factor. It is much cheaper to buy a $5 tube of caulk in October than it is to call an emergency plumber for a burst pipe in January. Furthermore, keeping your home in top shape preserves its property value. A house with a history of ice dams or water damage is a hard sell; a well-maintained, energy-efficient home is a treasure.
Timing is everything. We recommend starting your tasks in early fall. September is the ideal time for exterior work while the weather is still mild. By October, you should be finalizing your interior deadlines. Once the nights start dipping into the 40s, it’s a clear signal that the “first freeze” window is closing.
Exterior Maintenance: Protecting Your Home’s Shell
Your home’s exterior is its first line of defense. If the shell is compromised, the interior doesn’t stand a chance.
The Roof and Gutters
Start at the top. A visual roof inspection is vital. Look for shingles that are missing, curled, or “blistered.” If you see moss or rust on flashing, address it now. Snow is heavy—accumulation exceeding 20 pounds per square foot can actually be dangerous for a compromised roof.
Gutter cleaning is perhaps the most important exterior task. When leaves and “gutter sludge” (which, fun fact, makes great garden compost!) clog your system, water backs up. In winter, this water freezes, creating ice dams that can force moisture under your shingles and into your walls. Ensure your downspouts divert water at least 5 feet away from the foundation to prevent basement flooding and foundation cracks.
Siding and Foundation
Check your siding for any gaps or signs of rot. Small holes are invitations for rodents looking for a warm winter hotel. Use a high-quality exterior caulk to seal any openings.
Outdoor Living Spaces
Don’t leave your deck to face the frost unprotected. If the wood looks “thirsty,” apply a fresh coat of sealant. For your patio furniture and grills, the rule is simple: if you can’t move it into a shed or garage, use heavy-duty weatherproof covers.
Pro-tip for Grill Owners: If you have a gas grill, close the valve and disconnect the propane tank. However, never store propane tanks inside your house or garage—keep them in a dry, outdoor area.
Landscaping and Plants
Give your grass one final short mow and rake away those lingering leaves. If you have sensitive potted plants, remember the 45-degree threshold: once temperatures drop below 45°F, it’s time to bring them indoors. For larger pots that must stay outside, elevate them off the ground and turn them over if empty to prevent the clay or ceramic from cracking when moisture freezes.
| Task | DIY Cost (Estimated) | Professional Cost (Estimated) |
|---|---|---|
| Gutter Cleaning | $0 – $20 (tools) | $150 – $300 |
| HVAC Tune-up | $20 (filter) | $70 – $400 |
| Chimney Sweep | $30 (brushes) | $150 – $350 |
| Sprinkler Blowout | $0 (if own compressor) | $56 – $133 |
Essential Interior Tasks for Your Winterizing a House Checklist
Once the exterior is secure, it’s time to focus on making the inside a fortress of warmth. The goal here is simple: keep the heat in and the “shiver” out.
Sealing the Enclosure
Drafts are the enemy of efficiency. You can find air leaks by moving a lit candle or incense stick near window frames and doors—if the flame flickers, you’ve found a leak. Alternatively, wet your hand; the evaporating moisture will make your skin feel cold exactly where the draft is hitting.
Once you find the culprits, it’s time to seal air leaks to save energy. Use caulk for permanent gaps and weatherstripping for moving parts like window sashes and doors. If you have uPVC windows that feel breezy, there are easy ways to fix drafty uPVC windows using foam tape or specialized gaskets.
Don’t forget the bottom of your doors. A simple door sweep or even a “draft snake” (a weighted fabric tube) can stop a massive amount of cold air from sliding into your living room. For extra protection, consider saving energy with insulated window treatments like thermal drapes or cellular shades.
Insulation: The Home’s Blanket
Your attic is where most heat escapes. Check your insulation levels; for most climates, you want a depth of 10 to 14 inches. If your insulation is thin or damp, it’s time to upgrade your attic insulation to meet modern R-value standards (usually R-38 to R-49).
In the basement or crawl space, look for moisture and seal any rim joists where the house meets the foundation. If you have cold tile or wood floors, remember they can account for 10% of heat loss. Thick area rugs are a stylish and effective way to “insulate” your feet and keep the room warmer.
Heating System and Airflow Optimization
Your HVAC system is the heart of your winter comfort. Start with a professional tune-up to ensure everything is running safely. Most importantly, change your air filters! A dirty filter forces your furnace to work harder, shortening its lifespan and increasing your bills.
We highly recommend using programmable thermostats to manage your heat. The Department of Energy suggests a setting of 68°F while you are home and awake, and lower while you are sleeping.
The Ceiling Fan Trick: Most people think fans are only for summer. However, if you reverse your ceiling fan to rotate clockwise on a low speed, it creates an updraft that pushes the warm air trapped at the ceiling back down to the floor. This simple move is one of our favorite insulation tips for winter.
Plumbing and Pipe Protection Strategies
A burst pipe is a homeowner’s nightmare. Pipes generally start to freeze when the outdoor temperature hits 30°F, but wind chill and lack of insulation can speed up that process.
Insulating Pipes
Any pipe in an unheated area—like a crawl space, attic, or garage—needs protection. Use tubular foam pipe wrap or fiberglass sleeves. This is especially critical in “wet zones” where pipes are near exterior walls. For the best results, check out the best insulation to use between studs in your wet zones to ensure your plumbing stays cozy.
Outdoor Plumbing
Disconnect all garden hoses. If water stays in the hose, it can freeze and expand back into the faucet, causing the internal pipe to shatter. Drain your outdoor faucets and use insulated spigot covers. If you have an irrigation system, you should have it “blown out” with an air compressor to remove all water from the lines.
Water Heater Maintenance
Winter is the time your water heater works the hardest. Flush the tank to remove sediment buildup, which improves efficiency. Set the temperature to 120°F—this is hot enough for comfort but low enough to prevent scalding and save energy.
Emergency Tactics
If a “polar vortex” is heading your way, use the “faucet trickle” method. Letting a tiny stream of water run from the faucet furthest from the main shutoff keeps water moving and relieves pressure. Also, open cabinet doors under sinks to let the home’s warm air reach the pipes. Finally, make sure everyone in the house knows exactly where the main water shutoff valve is located. If a pipe does burst, every second counts.
Safety and Emergency Preparedness
Winterization isn’t just about comfort; it’s about safety. When the power goes out or a blizzard hits, you need to be self-sufficient.
Fire and Air Safety
Smoke detectors and carbon monoxide (CO) alarms are non-negotiable. Smoke detectors generally only last 10 years; if yours are older, replace them immediately. Test them monthly and change the batteries annually.
If you have a fireplace, the Chimney Safety Institute of America recommends a professional sweeping whenever there is a 1/8-inch buildup of soot in the flue. This prevents creosote fires, which can be devastating. Clear out old ashes and ensure your damper closes tightly when not in use to prevent warm air from escaping up the chimney.
The Emergency Kit
The American Red Cross suggests having enough supplies for at least three days (though 14 days is safer for remote areas). Your kit should include:
- Water: 1 gallon per person, per day.
- Food: Non-perishable items that don’t require cooking.
- Light: Flashlights with extra batteries (avoid candles due to fire risk).
- Warmth: Extra blankets and sleeping bags.
- Communication: A hand-crank or battery-powered weather radio.
Snow Removal Gear
Don’t wait for the first six inches of snow to find your shovel. Inspect your snowblower now—change the oil and ensure you have fresh gasoline (gasoline older than a few weeks can spoil and damage the engine). Stock up on a 50/50 mix of sand and ice melt. The sand provides traction, while the melt handles the ice.
Frequently Asked Questions about Winterizing a House Checklist
When is the best time to start winterizing a house?
The best time is early fall, specifically September and October. You want to finish your exterior tasks before the ground freezes and your interior tasks before you need to turn the heat on full-time. If you wait until the first freeze, you’re already behind.
How can I winterize my home on a budget?
You don’t need a fortune to stay warm. Focus on high-impact, low-cost DIY tasks:
- Use weatherstripping and caulk to seal gaps.
- Install foam outlet gaskets behind electrical plates on exterior walls.
- Hang heavy curtains over windows at night.
- Roll up towels to use as draft stoppers at the base of doors.
- Check out these energy saving methods for home insulation for more budget-friendly ideas.
What are the risks of not winterizing a home?
The risks range from annoying to catastrophic:
- Burst Pipes: Can cause thousands of dollars in water damage.
- Ice Dams: Leads to roof leaks and structural rot.
- High Utility Bills: You could be paying 10-20% more than necessary.
- Furnace Failure: Systems that aren’t maintained are more likely to break down when they are strained by extreme cold.
Conclusion
At Financefyx, we believe that a well-prepared home is a happy home. Taking the time to go through this winterizing a house checklist provides more than just lower utility bills—it provides peace of mind. Whether you are insulating your home for energy efficiency or simply stocking up on batteries, every small step counts toward a safer, cozier winter season.
Don’t let the frost catch you off guard. Start your checklist this weekend, and you’ll be able to enjoy the first snowfall from the comfort of a warm, secure, and efficient home. For more ways to keep your house running perfectly all year round, explore our more energy saving tips. Stay warm!
